The AirGradient DIY Outdoor Pilot Program
The AirGradient DIY Outdoor Pilot Program
Introduction
These instructions are for our small beta tester group and contains a special firmware for testing purposes. This firmware only works for people in this pilot program. If you are interested to join the pilot, please contact us.
If you just want to build the regular open hardware version of this outdoor monitor, follow these instructions. You can also pre-order this outdoor monitor as a kit in our Online Store.
Flashing of Pilot Firmware Through The Browser
Connect the D1 Mini to your computer through a data-capable cable and press the button below. Make sure you use the Chrome or Edge browsers on your computer for this to work.
| DIY Outdoor Pilot Firmware | |
|---|---|
Connecting to WiFi Testing And Putting It Into The Enclosure
Now you can power on the device. You need to connect it to the Wi-Fi. To do this open you Wi-Fi settings on the phone and look for a hot spot called “AirGradient______”. Then connect to it and enter your Wi-Fi network credentials. It will then connect to Wi-Fi and start displaying and sending the air quality data.
Important: Please write down the serial number of the monitor. It is the code you see on the SSID after “AirGradient”. You need this code to add the monitor to the dashboard and for us to white list the monitor. In case you have any issue, please contact us.
If everything works, you can put the two PMS sensors and the PCB into the enclosure and close the enclosure with four screws. You need an M6 torx screwdriver.
3D Enclosure
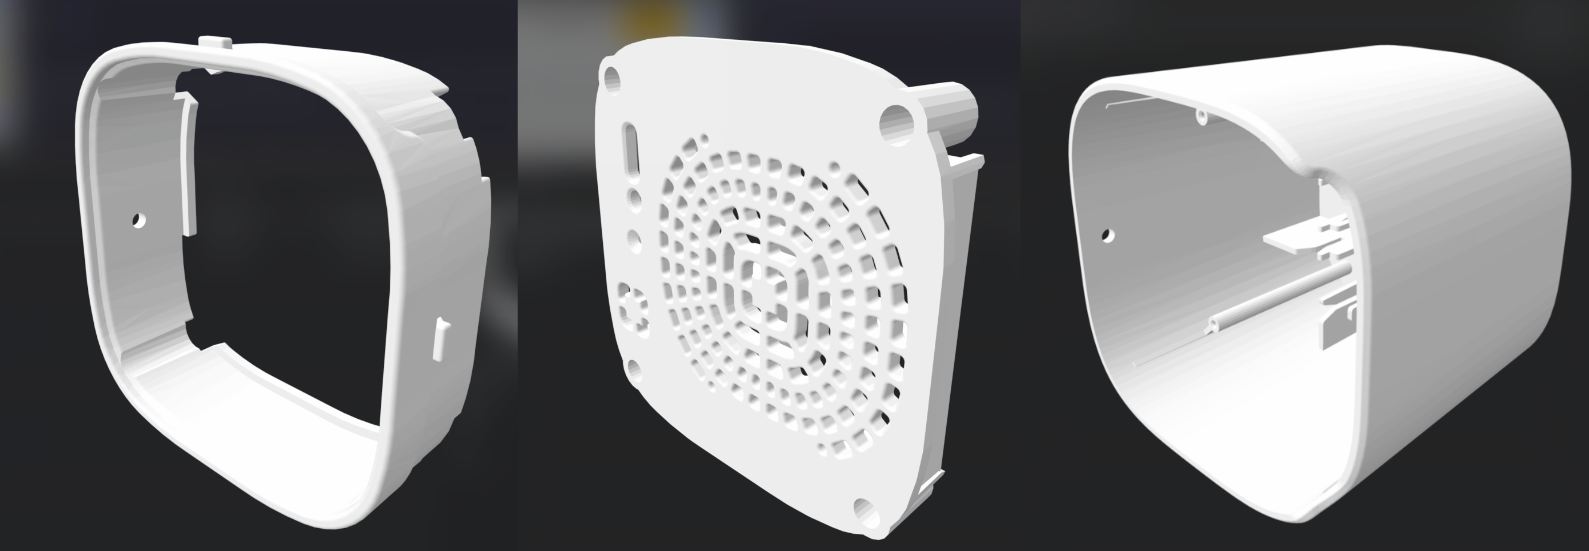
You can download STL 3D printer files to print an enclosure that exactly fits the PCB. The 3D enclosure consists of three parts: two parts for the bottom and a bigger top part.

CC BY-SA 4.0 Attribution-ShareAlike 4.0 International
This work is licensed under CC BY-SA 4.0.
This license requires that reusers give credit to the creator. If you remix, transform, or build upon the material, you must distribute your contributions under the same license as the original.
Copyright AirGradient Co. Ltd.