


Open and Accurate Air Quality Monitors
We design professional, accurate and long-lasting air quality monitors that are open-source and open-hardware so that you have full control on how you want to use the monitor.
Learn MoreWith the first version of our DIY board we developed a simple 3D printable enclosure with a wall mount that looks like this:
In general it worked quite well but there were a few problems:
Due to the compact nature of the enclosure and the SHT30 temperature sensor being in very close proximity to the PM sensor and also the Wemos D1 that radiate heat during operation, the temperature readings were too high (1-2 degrees Celcius).
As a result some people used a correction formulae but this is not idea, e.g. if there is air flow, it might then underestimate the actual temperature.
So our aim with the new enclosure was to isolate the temperature sensor more.
Sometimes it was quite difficult to get the PCB into the enclosure because you had to exactly hit the PCB holders on the opposite side. Often this took quite long and was frustrating. Also, sometimes with the OLED display mounted, it was very tight to push the PCB into the enclosure.
So we wanted a much easier to assemble enclosure.
Although we provide screw holes on the PCB to mount the PM sensor, most people used double sided tape. However tape does not last forever and from time to time the PM sensor becomes loose.
So in the redesigned enclosure we wanted to make sure that the PM sensor cannot move around.
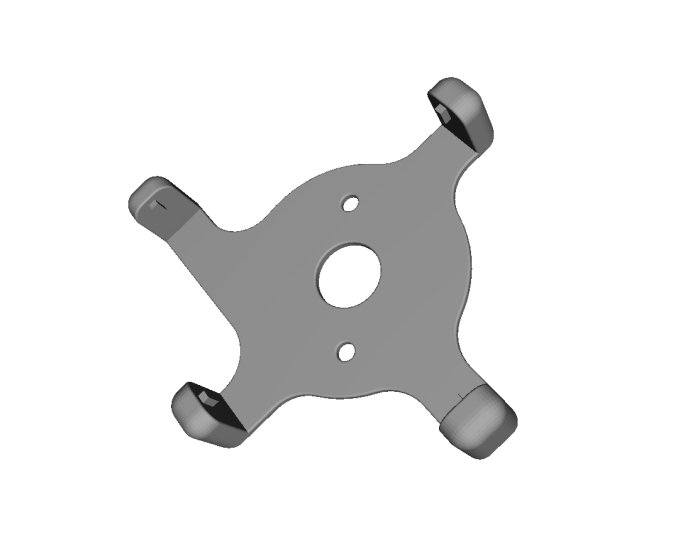
We provided a separate wall mount that clipped into the vents of the sensor but made the sensor look much bigger so we wanted to integrate the wall mount with the new version.
When we developed the enclosure for our commercial sensor AirGradient One, we worked together with Rico Jay Beringuela. He is a very experienced engineer in 3D modelling especially on plastic injection mold design and simulations, product technical 2d drawings and rendering. We were extremely happy with his work and thus asked him if he would like to support our open hardware and are delighted that he immediately agreed to volunteer and develop a professional design for our new enclosure.
We did the following modifications:
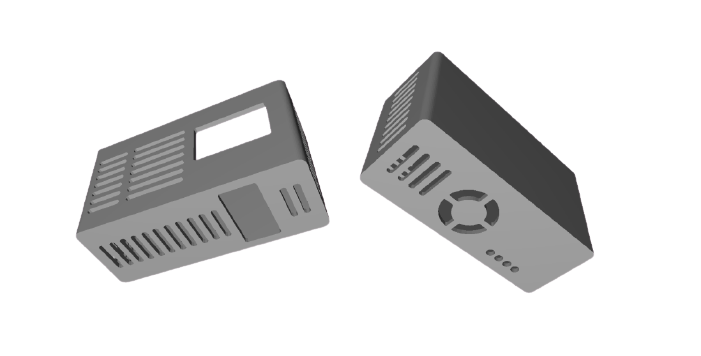
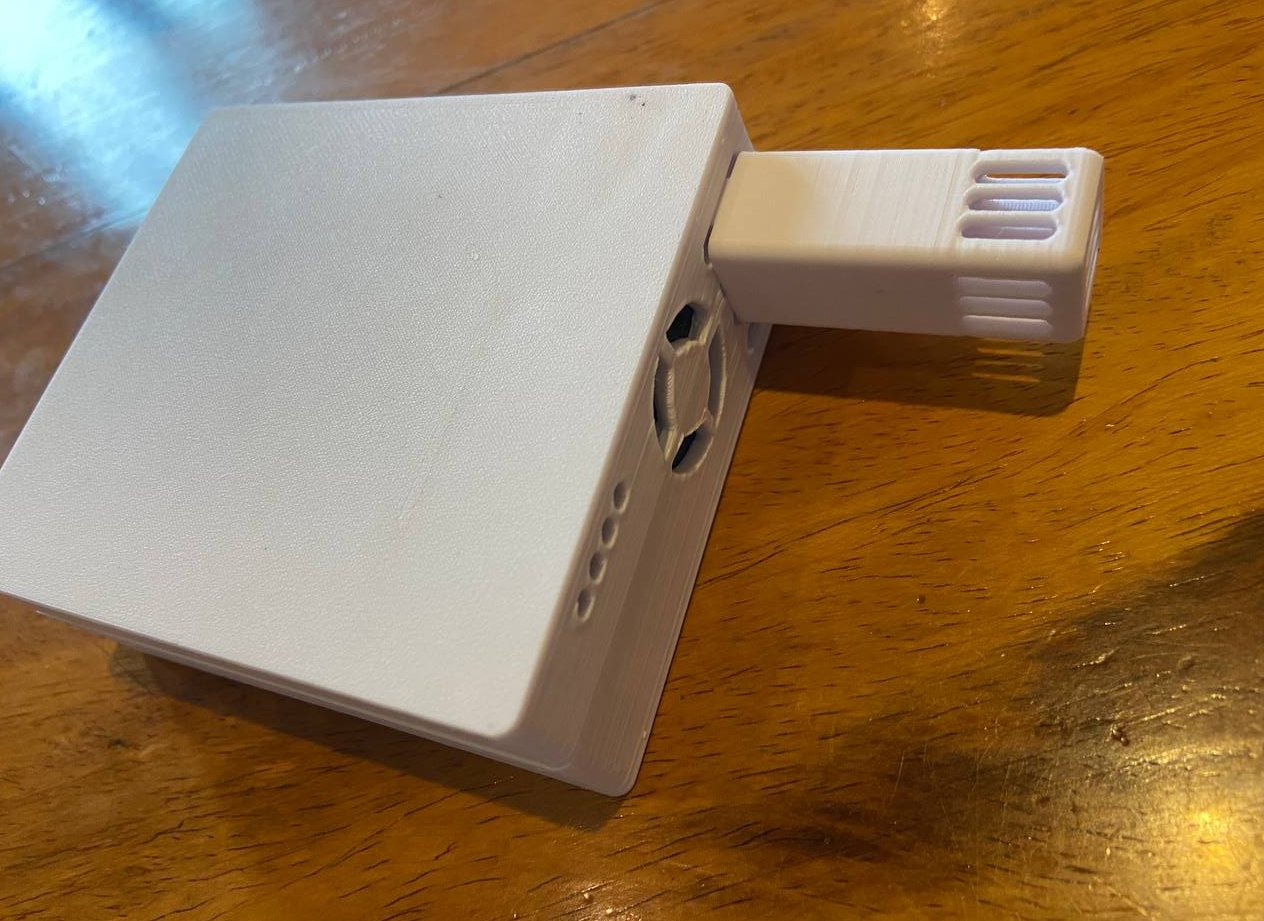
The new design looks like this with the optional clip-on temperature probe for more accurate readings:
We are also having a version with the cutout for the optional OLED display.
I am sure you will like this new enclosure and once again a big thank you to Rico for supporting this project. In case you want to work with Rico, you can reach him under ricojayberinguela17@gmail.com or WhatsApp +639368830540.
Curious about upcoming webinars, company updates, and the latest air quality trends? Sign up for our weekly newsletter and get the inside scoop delivered straight to your inbox.
Join our Newsletter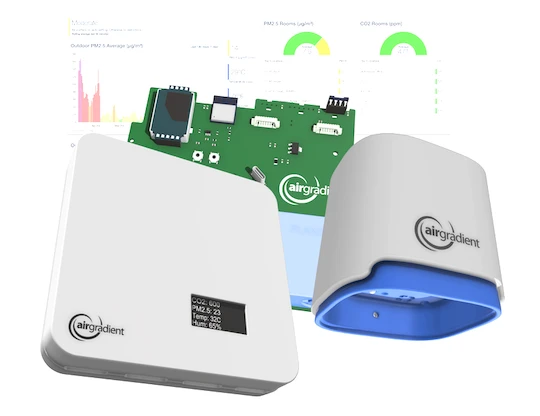
We design professional, accurate and long-lasting air quality monitors that are open-source and open-hardware so that you have full control on how you want to use the monitor.
Learn More